 A good blogger can be identified by the way he manages his blog and organizes his posts. The homepage is the most important part of every blog. The homepage must contain up to 5-6 posts in order to seize the attraction of reader as much as possible. Keeping a reader busy for a longer time is what I call a blogging success. Showing 5-6 posts is load-time and user friendly only if you show a summary of each post. On my homepage you must have seen a Read More Link, clicking which expands the entire post. Look at a screen shot Below,
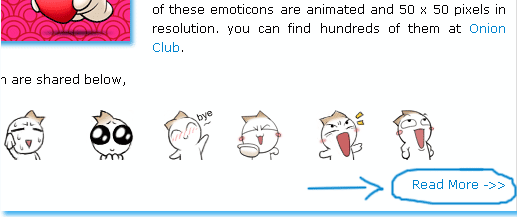
This link just adds beauty to your blog along with some pro spice to it. So lets learn how to summarize your posts and give them the expandable functionality.
The steps that must be followed for planting this TNT are,
- Go to layout > Edit HTML

Now The Most Important Step �> Back Up Your Template
By backing up your template I mean that you must save a copy of your current template in your computer hard drive. If in case something goes wrong, you can restore your template and have everything working as normal as before.
To backup your template click on the link saying Download Full Template , as shown below
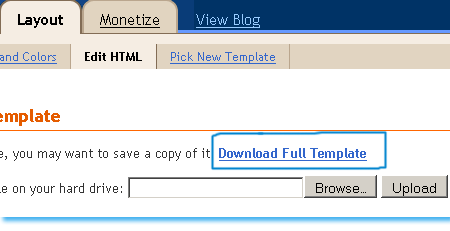
If suppose something goes wrong , you will simply click the Browse button, locate your saved template and then simply click the Upload button to restore your template back to normal.
To backup your template click on the link saying Download Full Template , as shown below

If suppose something goes wrong , you will simply click the Browse button, locate your saved template and then simply click the Upload button to restore your template back to normal.
- Click on “Expand Widget Templates” at the top right hand corner of your Edit HTML page

- Now find this code ]]></b:skin>
Tip: Pressing Ctrl + F and then paste this code into the search box, as shown below,
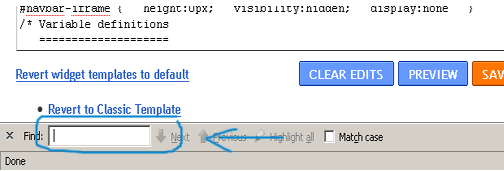
The search box is an easy way of finding codes in your template.
Just after ]]></b:skin> copy paste the code below,
Just after ]]></b:skin> copy paste the code below,
Tip: Highlight the code below and then press Ctrl + c to copy the entire code and then pressCtrl + v to paste the code
<style>
<b:if cond=’data:blog.pageType == “item”‘>
span.fullpost {display:inline;}
<b:else/>
span.fullpost {display:none;}
</b:if>
</style>
Now find this code <data:post.body/>
And just after <data:post.body/> add the code below,
<!–READ-MORE-STARTS–><b:if cond=’data:blog.pageType != “item”‘>
<a expr:href=’data:post.url’><div style=”text-align: right;”>Read More ->></div></a>
</b:if><!–READ-MORE-STOPS–>
You can replace the text in red with anything you like, e.g: Continue Reading, Keep Reading
If you want to shift the “Read More->>” text to the extreme-left side, use this code:
<!–READ-MORE-STARTS–><b:if cond=’data:blog.pageType != “item”‘>
<a expr:href=’data:post.url’><div style=”text-align: left;”>Read More ->></div></a>
</b:if><!–READ-MORE-STOPS–>
Save your template and you are Done!
Read Further to know How to Apply this TNT in your Posts
Now whenever you want to write a post in windows Live Writer, follow the procedure below,
Once you had finished writing your post, as shown below,
Once you had finished writing your post, as shown below,
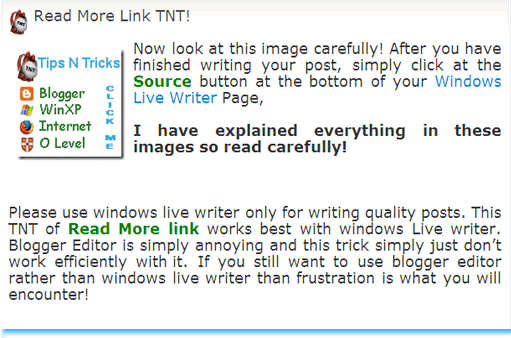
Just after completing your post click on the source button at the bottom of your windows live writer page,

You will see something like this,

Now use the code below to hide the portion of your post that you don�t want to be shown on your homepage
<span class=”fullpost”></span>
Now suppose if you want to show the post only till the lines
I have explained everything in these images so read carefully!
So you will add the codes as shown below,

You can see in the image above that I have added <span class=”fullpost”> just above the part of the post I wanted to hide. The text that I want to hide is the one below,
�Please use windows live writer only for writing quality posts. This TNT of Read More link works best with windows Live writer. Blogger Editor is simply annoying and this trick simply just don�t work efficiently with it. If you still want to use blogger editor rather than windows live writer than frustration is what you will encounter! �
I added </span> to the part where the entire post completes or source code ends
In short add <span class=”fullpost”> just before the text to be hidden and add </span>just after it
That�s All!
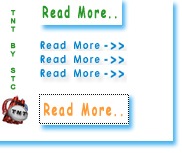
You can use some of the Images below instead of that Read More �>> text
To add an image instead of text simply replace Read More ->> in the code above with this,
<img border=”0″ alt=”read more” src=”URL Of Your Image”/>
Replace URL Of Your Image with your image link.
Update:-
I have created some high quality Read More Buttons, may be you will like them more. Visit these links,
- Blinking Read More Buttons
- Animated Read More Buttons
- Arrow Head Read More Buttons
