5 Tips for Using Windows 8.1 Like a Boss

Windows 8.1 has been one of the most-maligned operating systems in recent memory, and, in my opinion, much of what’s been written about it has been misguided, unfair, and just plain wrong.

The piling-on Microsoft has experienced in the rollout of its new operating system just goes to illustrate the weakness of the technology journlism field. As a tech journalist, I have some advice for tech fans: Don’t rely blindly on tech journalists�try it for yourself! Most tech journalists are concerned with one thing: getting lots of page views. And they know that one sure-fire technique is to take a scathing, negative attitude. I even recently saw a tip-list article telling tech journalists how to up their page views, one of which was simply “Be negative.” I would link the article, but its title doesn’t meet PCMag’s family-friendly standards.

The number-one whipping boy for this sort of click-bait negativity is Microsoft. Perhaps it’s payback for the company’s 90s-era monopolistic shenanigans or for some of its technology misfires�Vista, the Kin phone, the Zune…the list goes on, admittedly. But it’s clear to me that the even slickest, best executed, most technologically brilliant, most cost effective product, software, or service, if associated with the name “Microsoft,” would still manage to find an army of detractors.
Another factor is that the press exaggerates everything. New York wasn’t as dangerous in the 90s as the then mass media would have the world believe: I lived there for the entire decade, riding the subway at all times, and was the victim of just a single failed attempt at pickpocketing during that whole supposedly scary era. The press is an echo chamber that magnifies everything, especially when there’s fear involved. And what could be scarier for computer users than an OS paradigm shift?
Which brings me to Windows 8. With its latest operating system, Microsoft has tried to do something that hasn’t been done before�create hybrid system software that’s equally at home on a tablet as a desktop or laptop PC. And doesn’t that make sense? If you could have just one device, a powerful tablet that could do absolutely everything that a desktop computer could, wouldn’t you want that?
Again, despite everything you’ve heard, Windows 8 is not hard to use�once you’ve got just a few new habits under your belt. Here’s my cheat sheet on how to run Windows 8 and 8.1 like a boss, so that you’ll never want to look back to Windows 7 or, gasp, the more-than-a-decade-old XP. All this is not to say that you will feel instantly at home with Windows 8, so don’t expect to race around it the first time you try it. But after some exploration and familiarization, you may just find that it offers a superior computing experience.
1. Think of the tiled Start page as a full-screen Start button. Because that’s exactly what it is. Just as with the old Start button, you can simply start typing to show programs that begin with the letters you type, and launch them without having to scroll across tile screens. You can customize this page to your heart’s content, grouping tiles and placing your most frequently used ones on the first page. Finally, know that tiles are not just for new-style full-screen mobile apps: Any standard Windows desktop application you’ve been using for years can also get a tile that you can place wherever you like on the Start page for easy access.
2. The Desktop is a Tile. If you worry that you want Windows to keep looking and working like Windows 7, just tap that tile on the Start screen labeled “Desktop.” You’ll right away feel at home. And there are always numerous was to quickly get back to the Start screen from anything you’re doing on a Windows 8.1 PC: The easiest are to just move the cursor to the lower-left corner of the screen, where the new-style Start button will appear, or tap the Windows key. If your comfort level demands it, Windows 8.1 lets you boot right to the desktop, through Control Panel’s Taskbar and Navigation Properties dialog. There you’ll also find a choice (also new in 8.1) to use the same background for Start as for the desktop.

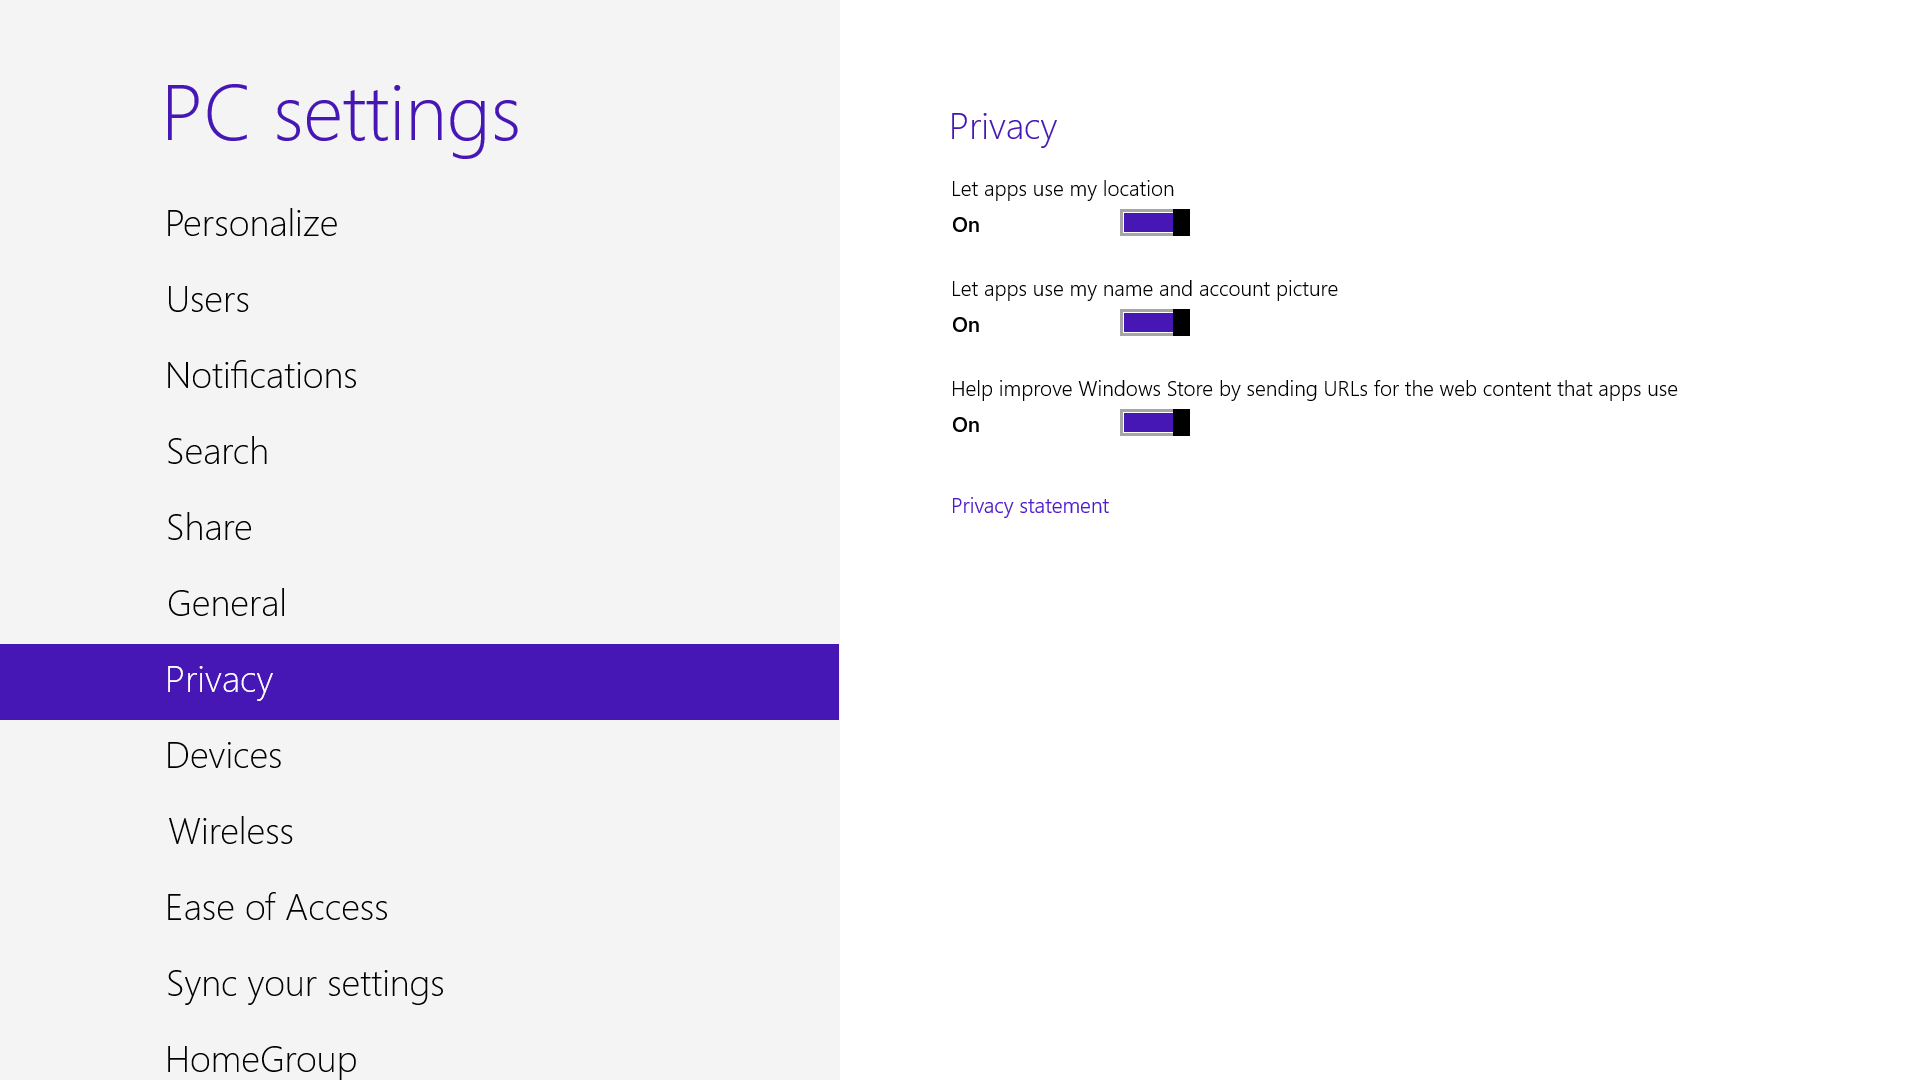
3. Find its Charms. No matter what you’re doing on a Windows 8.1 system, you can always get to the Charms�a menu rail of buttons along the right site of the screen for major system actions like Search, Share, Start, Devices, and Settings. Just move the cursor to the top right corner and then down. (or swipe in from the right on a touch screen). One of the “adjustments” in using Windows 8.1 is that new-style apps generally use these charms�and not their own menus�for settings, search, and sharing to email or social networks. The Settings Charm is also where you’ll find the Power options, including those for shutting down and restarting.

4. Use the App Bars. No this isn’t where you get free appetizers: The app bar is a feature of just about every new-style Windows 8.1 app. To invoke it, you just right-click on the app’s screen in a mouse-and-keyboard situation, and swipe up from the bottom of the screen or down from the top on a touch tablet. Once you do this, you’ll reveal the app’s functions and options. For example, opening the app bar for Adobe’s new Revel for Windows 8 app, you’ll see buttons for Sharing the photo to Facebook, adding it to an album, or editing it.

5. Keyboard shortcuts still work. Most of Windows’ time-tested keyboard shortcuts work just as they always have: Alt-Tab to switch you among open applications, F5 refreshes the active window, Alt-F4 closes the current app, and so on. But the Windows Key is the mother of many new, useful shortcuts. Make friends with the Windows key, and you will sprint through the OS. Just tapping it switches you between your current app and the Start screen, Windows key-D takes you to the desktop, Windows key-F opens Find, and�a very handy safety tip�Windows key-L returns the PC to the lock screen.
A full list of Windows 8.1 shortcuts is on this support page. One key combo most people may want to avoid, however, is Windows key-Enter, which starts the Narrator reading everything on screen endlessly; stopping this requires the not-very-intuitive Caps+Esc key combo. The screenshot here shows just a small sampling of these Windows-key shortcuts.

Enjoy Guys! and don’t forget to post your comments. � MyTricksTime.com

20 must-know Windows 8 tips and tricks

Windows 8 is rife with features and behaviors that conspire to perplex even the most experienced PC users. Not all of them are bad, per se, but few of them are immediately intuitive. Making matters worse, the OS was primarily designed for touch control, and as a result, many mouse and keyboard commands feel like tacked-on afterthoughts.

But help is on the way.

Zoom in tight


See all your tiles and groups at once with semantic zoom
The Start Screen is full of nice, big, chunky tiles that represent all your apps. The tiles are easy to see in small groups, but what if you have hundreds of apps installed? Most will be hidden from view, unless you want to do a lot of scrolling. Enter the new semantic zoom feature. If you�re using a touch display, squeeze the Start screen with two fingers to receive a bird�s eye view of your entire screen contents. And the feature is also available to mouse and keyboard users: Simply hold down the Ctrl button, and use your mouse wheel to zoom in and out.

Categorize your apps


Start screen customization for the organized.

Your Start screen can become a cluttered mess if you collect too many apps and other elements that have been pinned to the screen as tiles, so take advantage of built-in organization tools that let you divide everything into labeled groups.

First, drag all the tiles you want to assign to a single group to the far right-hand side of your Start screen in vacant territory; the OS should sequester the tiles together. Once you’re satisfied with your assembly, use semantic zoom (described above) to get a bird’s eye view of your desktop. Now right-click the group (or simply drag down on it), and select the “Name group” option on the left of the bar that appears below. Type in the name, and enjoy your newly organized Start screen!

Close an application

Closing an app sounds simple enough, but you’ll quickly notice that close buttons are hard to find in Windows 8. That’s because Microsoft encourages us to run apps in the background where they’ll take up minimal resources, but still be accessible at any time.
Nonetheless, if you insist on being rebellious, you can close an app by dragging it with your mouse or finger from the top of the screen all the way down to the bottom. 
As you drag the app will miminize into a thumbnail, and when you reach the bottom, it will disappear from view. Alternatively, you can still close apps via Alt + F4 and through the Task Manager.

Use centralized, contextual search

Search for anything in any app from one place.
The Search function located on the Charms bar is packed with power, letting you search the directories of not only your Windows 8 machine, but also the greater Windows ecosystem. Simply choose the bucket of data you want to sift through�it could be all your installed apps, your system settings, your files, your mail messages, or even an external service like the Windows Store or Bing Maps�type in a keyword, and hit Enter. The Search function will then return the results, perfectly contextualized for the database you�ve addressed
Oh, and how’s this for cool? You don’t even need to hit the Charms bar to access Search. From the Start screen, simply start typing, and you’ll be quickly whisked to the text-entry field for search queries. Try it. It works!

Adjust privacy settings

Customize your privacy settings to your liking.
A lot of apps tap into very personal information by default. Indeed, your pictures, location, and name are liberally woven throughout the system, and like many users you may not be comfortable trusting your machine with that much sensitive data. To adjust the settings, press the Windows key + I, and go to Change PC Settings. Select the Privacy option, and personalize the settings for your personal data there.

Adjust SmartScreen settings

Choose your own level of safety with SmartScreen.
SmartScreen warns you before running an unrecognized app or file from the Internet. While it’s helpful to be aware of a file’s source, constant warnings can also get a little annoying. By default, you need an administrator’s permission, but this can easily be adjusted to just a warning or no indication at all. Using the magic search function described above, type “security” at the Start screen and find the “Check security status” in the Settings tab. From this area, you can adjust various security settings, including the Windows SmartScreen.

Bring up the Quick Access Menu

The secret Start button for power users is hidden at the bottom-left.
Right-clicking on the lower left of the screen�whether you�re in the Windows 8 Start screen or in the desktop�will bring up the Quick Access Menu, which enables a direct line to many key system management chores, including Disk Management, Task Manager, Device Manager, and Control Panel.

Use Windows 8 apps and your desktop simultaneously

Because the Windows 8 experience is split between new Windows 8 Store apps and old-school desktop apps, the operating system is prone to some strange behaviors. Case in point: When running a multimonitor setup, Windows 8 apps will consume your main screen, leaving your secondary screen running the desktop. This arrangement wouldseem to allow full-screen multitasking among both types of apps�a modern app on the left side, a desktop app on the right side�but this isn�t the case. Indeed, as soon as you begin using the desktop on your secondary screen, the new-style Windows 8 app disappears, and your primary screen begins running the desktop.
But here�s a workaround. On your primary screen, use the new Windows 8 split-screen �snapping� function to run the desktop and a new Windows 8 Store app together. The desktop can take up the left-hand sliver, while the Windows 8 app consumes the majority of the screen. Now use your second display for a full desktop view. In this arrangement, you can fully multitask between new-style apps and desktop apps, and both windows will be large enough to be useful.

Go to Task Manager for Startup items

Task manager is more useful than ever.
You no longer have to run the MSConfig program to change startup items. Startup items now show up in a tab on Task Manager. Simply press Ctrl + Alt + Del and select Task Manager. Click the “More details” tab at the bottom and find the Startup tab at the top.

Share and share alike

Play with the Share charm in every app.
Windows 8 is Microsoft�s first social-media-aware PC operating system. Using the Share button located on the Charms bar, you can pick any number of elements from your Windows 8 Store apps�say, a location from your Maps app, a news story from the Finance app, or a even a contact from your People app�and then distribute that item to friends via other Windows 8 programs.
Perhaps most conveniently, you can quickly share a photo via email or Twitter, or to your own SkyDrive or Windows Phone. The Share button is contextual, and the more you use it, the more you�ll discover which apps share with each other, and which don�t. (Hint: None of your desktop apps offer sharing opportunities through the Charms menu.)

Create a picture password

A fun way to protect your system.
Using a picture password is a fun way keep your device secure while not having to remember a complex password. To enable it, press the Windows key + I to get to the settings charm. Click “Change PC settings” at the bottom right, and go to the Users tab. Under “Sign-in options” will be the “Create a picture password” button. This will give you the option to choose any picture, and then define three gestures anywhere on the image. Your gestures can be circles, swipes and clicks.
For example, to set a picture password for the image above, you could click on the highest palm tree, draw a circle around the island, and then swipe down from the lens flare in the upper right. Just beware: The direction of each gesture matters! After confirming it a couple times, your picture password will be set.

Boot to the desktop without an app

Skip the Start screen and get right to the Desktop.
One of biggest complaints about Windows 8 is that it boots straight to the Start screen�an annoyance for many committed desktop users. The Start8 utility helps you avoid this indignity (among other cool features), but you can actually boot straight to the desktop without installing anything extra.
Go to the start screen and type in “schedule” to search for Schedule Task in Settings. Click on Task Scheduler Library to the left, and select Create Task. Name your task something like “Boot to desktop.” Now select the Triggers tab, choose New, and use the drop-down box to select starting the task “At log on.” Click OK and go to the Actions tab, choose New, and enter “explorer” for the Program/Script value.
Press OK, save the task, and restart to test it out!

Log in without a username or password


To speed up the log-in process, you may want to disable the username and password log-in screen. You can do so by opening the Run window (press the Windows key + R) and typing in “netplwiz” to access the User Accounts dialog box. Uncheck the box near the top that says “Users must enter a user name and password to use this computer.” Click OK, and enter the username and password one last time to confirm your choice, and you are all set for easy access to your system.

Refresh your PC


If your system is feeling a little sluggish, it may be time for a refresh. In the past we would have to find our copy of Windows 7, back up all of our data, and perform a fresh install to enjoy that back-to-factory-fresh feeling. But now Windows 8 allows you to perform a fresh install from within Windows without losing any data.
In order to perform the refresh, go to Settings and click the Change PC Settings tab near the bottom. Select the General tab and find the “Refresh your PC without affecting your files” section near the middle (you may also select “Remove every

Start in Safe Mode

Safe Mode is a great way to get into your system when something won’t allow you to start up normally. Troubleshooting becomes a breeze when corrupted drivers and files aren’t loaded that prevents a system from functioning. It used to be as easy as pressing F8 when the system starts up, but doing so with Windows 8 will take you to Automatic Repair Mode. The trick to getting back to good old fashioned Safe Mode? Hold down the Shift key and press F8 while booting up.
This takes you to the Recovery mode. Select “advanced options,” then “troubleshoot,” then the “advanced options” again (there are a lot of advanced options). Select Windows Startup Settings and finally the Restart button. This will reboot the computer and give you the option to boot into Safe Mode.
If you need to get into Safe Mode from within Windows, open the dialog box (the Windows key + R) and type “msconfig” (no quote marks). Select the Boot tab and check the Safe boot box. The system will continually boot into Safe Mode until you go back and uncheck the box.

Turn Live Tiles on and off

thing and reinstall Windows” to get the true factory settings treatment). Select “Get started” and press “Refresh.” After a few minutes the PC will restart, and you will have a fresh copy of Windows 8.

When looking at the plethora of tiles on your Start screen, the view can get stagnant, despite all the pretty colors.This is where Live Tiles come in. They offer real-time data right on your Start screen, and you don’t need to open any apps. For example, the Weather tile will show you the current conditions, and Mail will show you the subject of the latest message you’ve received.
You can customize which apps are live and which aren’t by right-clicking on the tiles. A settings bar on the bottom will pop up with an option to turn the Live Tile on or off. Simply select the preferred option, and you’re all set. Note, however, that not all apps have a live, real-time data-streaming option.

Find the Windows games folder

Currently, the games folder used in Windows 7 isn�t present in Windows 8. Fear not; if you install any current-generation PC game that would regularly save to this folder, the folder is automatically created. For a quick way to find it, right-click on the game icon on the Start screen and choose �Open file location� at the bottom.

Activate Family Safety

                                                             Let your kids play without having to worry

Want to avoid some nasty surprises on your credit card? Create a separate, standard account on the device for your kids (Family Safety can’t be applied to an administrator account). You can activate Family Safety by going to the Control Panel, User Accounts,and Family Safety, and selecting the account you would like to apply it to. From these settings you can get reports on the account’s activity; set a level of Web filtering; set time limits; and enforce Windows Store, game, and app restrictions.

Shut down with one click

Windows 8 hides the Power button in the Settings menu, forcing a multistep process just to shut down one’s PC. But thanks to a crafty shortcut trick, you can pin a Shutdown button right onto the bottom of your desktop. Here’s how.
Create a shortcut on your desktop (right-click, go to New, then Shortcut). Enter “shutdown /s /t 0” (with no quotes, and, yes, that’s a zero not an “O”) as the location of the item, and press Next. Now name the shortcut (prefereably “Shutdown”) and press Finish.
Right-click the shortcut, and navigate to Properties. Choose Change Icon in the Shortcut tab, and then OK to leave the warning box. Choose an icon of your choice from the list. In the screenshot above, you’ll see we chose a Power button.
Right-click the shortcut again, and select Pin to Start. You can place the icon on your Start screen wherever it’s convenient. Clicking it will instantly shut down your computer

Enjoy Guys! and don’t forget to post your comments. � MyTricksTime.com

How to use pendrive as ram memory in windows 7 & 8

Hi friends, Do you know Windows 7 / 8 and Windows vista comes with a ready boost option.
Q-What is ready boost
Ans- ReadyBoost is a disk cache component of Microsoft Windows, first introduced with Microsoft’s Windows Vista in 2006 and bundled with Windows 7 in 2009. It works by using flash memory, a USB flash drive,SD card, Compact  Flash, external hard drive or any kind of portable flash mass storage

system as a cache. ReadyBoost is also used to facilitate SuperFetch, which allows it to perform analysis of boot-time disk usage patterns and creates a cache which is used in subsequent system boots.” Source
If you are using a high configuration PC, It doesn’t show any effect on speed because if you are a normal user I think only a few times you use your full ram memory but if you are using an old pc with low ram memory(Like 512 MB or IGB) and harddisk & using vista or 7. It speed up your PC and you will see the result, reduced application data loading time, reduced shutdown and restart time and many more you can’t imagine without High ram memory.

How to use this feature

  • Plug in your pendrive
  • Format with NTFS or FAT32
  • Now go to properties
  • Select ReadyBoost
  • Check Use this device
  • Choose maximum space to reserve system speed
  • Click on Apply and OK. 

Your readyboost PenDrive is ready Now to Use.

Here is an personal suggestion HP and Sandisk is the Best for this work so what are you waiting for.

Enjoy Guys! and don’t forget to post your comments. � MyTricksTime.com

Top 10 Windows 8 tips and tricks

Make the most of your Windows Start screen tiles by adjusting the sizes, where they are located, and what is listed.

  • Move any tile by clicking and dragging the tile. While moving a tile, if you need a larger view of the Start screen move the tile towards the top or bottom of the screen to zoom out.
  • Use your mouse wheel to scroll left-to-right through your tiles.
  • Any Desktop shortcut or program can be pinned to the Start screen by right-clicking the icon and choosing Pin to Start.
  • In the bottom right-hand corner of the start screen is a magnifying glass with tiles, click this icon to get a zoomed out view of your Start screen. In this view, if you right-click on a group of tiles you’ll be given the option to name group, which can be useful if you have a group of related tiles (e.g. games). In this view, you can also click and drag a group to organize your tile groups.
  • Create a new speed bump between tile groups by moving a tile to a speed bump.
  • Resize any User tile or Live tile by right-clicking the tile and choosing resize.
  • If there is a tile you want on your Taskbar, right-click the tile and choose Pin to taskbar.
  • Show admin applications on the Start screen by clicking Settings in Charms, click Settings, and change the Show administrative tools from No to Yes.
  • In Internet Explorer 10, you can also pin any of your favorite web pages to your Start Screen.
Windows 8 keyboard shortcuts
Knowing at least some of the Windows 8 keyboard shortcuts will make your Windows 8 experience much more enjoyable. Try to memorize these top Windows 8 shortcut keys.
  • Press the Windows key to open the Start screen or switch to the Desktop (if open).
  • Press the Windows key + D will open the Windows Desktop.
  • Press the Windows key + . to pin and unpin Windows apps on the side of the screen.
  • Press the Windows key + X to open the power user menu, which gives you access to many of the features most power users would want (e.g. Device Manager and Command Prompt).
  • Press the Windows key + C to open the Charms.
  • Press the Windows key + I to open the Settings, which is the same Settings found in Charms.
  • Press and hold the Windows key + Tab to show open apps.
  • Press the Windows key + Print screen to create a screen shot, which is automatically saved into your My Pictures folder.

See our Windows shortcuts page for a full listing of all Windows shortcuts.

Know your hot corners
The corners on your screen are hot corners and give you access to different Windows features. Below, is a brief explanation of each of these corners.
Bottom Left-hand corner
The bottom left-hand hot corner of the screen will allow you to access the Start screen, if you’re in the Start screen and have the Desktop open, this corner will open the Desktop from the Start screen.
Tip: Right-clicking in the left hand corner will open the power user menu.
Top-left corner of the screen
Moving the mouse to the top-left corner and then down will display all the apps running on the computer. Clicking and dragging any of these apps to the left or right-hand side of the screen will snap that app to that side of the screen. Each of these open app icons can also be right-clicked to close or snap.
Right-hand side of the screen
On the full right-hand side of the screen will be given access to the Windows Charms.
Taking advantage of search
The Search in Windows 8 has been significantly improved when compared to all previous versions of Windows. To search for a file or run a program in Windows 8 from the Start screen just start typing what you’re trying to find or want to run.
As you begin typing, the results will start appearing on the left-hand side. In addition to being able to search for files and run programs, the Search also supports limiting the search to apps such as Finance, People, Maps, Photos, Mail, Music, Videos, Weather, and much more. If what you are searching for is not a file or program, click on the app you wish to use as the search. For example, if you were searching for “New York” and selected the Weather App you would be shown the weather in New York, NY.
By default, Search organizes the available Apps by how frequently they are used and then in alphabetical order. If you want to keep your favorite app at the top of the Search list, right-click the app and choose Pin. Pinning the app will lock it in place regardless of how often it is used. If there is an app you don’t want (e.g. Finance) you can turn on and off any of the search apps through the PC settings, which is found under the Settings in the Charms.
Bonus tip: The Search is also found through Charms and can also be opened by pressing Windows key + F.
Running two apps side by side
Any app can be pinned to the left or right-hand side of the screen. For example, open the People app and then press the Windows Key + . (period) to move that app to the right-hand side of the screen, pressing the same keys again will move it to the left-hand side, and pressing the same keys again will make it full screen. While an app is pinned, any other app or program can be opened and loaded into the available space on the screen. For example, in the below picture, we’ve opened a browser window and have the People app running to monitor our social networks.
Any open app can also be pinned using your mouse by clicking at the top of the tile and dragging it to the left or right-hand side of the screen.
Bonus tip: The Desktop can also be pinned to the left or right-hand side of the screen.
Note: In order for snap to work properly your resolution must be at least 1,366 x 768.
Windows 8 Task Manager
The Windows 8 Task Manager has been significantly improved over previous versions of Windows. Some of the new changes include showing a total percent usage at the top of your Processes, which makes it easier to determine total memory and CPU usage, improved Performance graphs, a Startup tab to see startup processes and their impact to system performance, and the App history tab (as shown below) that gives you the total resources an app has used over a period of time. Press Ctrl + Shift + Esc to start exploring the new Task Manager.
Use a picture password to log into your computer
Windows 8 includes a new feature called Picture password, which allows you to authenticate with the computer using a series of gestures that include circles, straight lines, and taps. Enable this feature if you want a new way to access your computer or have a hard time with passwords.
  1. Open the Windows Charms.
  2. Click Settings and then More PC settings
  3. In the PC settings window click Users and then select Create a picture password
Bonus tip: A four digit pin password can also be created and used to access your computer.
Take advantage of Windows 8 apps
Windows 8 comes included with several apps to help you get the most from your computer. Below are just a few of the included apps.
People
Microsoft touts the People feature in Windows 8 because they understand how many people are using social networks today. In the People feature you’ll be able to connect your Windows computer to all the major social networks including Facebook, LinkedIn, and Twitter. Once connected, you can pin the people app and monitor your social network (as shown below), use People in Search to find people, and get an overview of what is happening in all your social networks.
Windows 8 People
Reader
The Reader app will give you PDF support right out of the box.
SkyDrive
The SkyDrive app will give you access to the Microsoft cloud service SkyDrive, which allows you to store your photos, documents, and other files in the cloud and access or share those files with any computer with Internet access.
Store
Take advantage of the Windows Store and install one or more of the thousands of available apps designed for Windows 8. The Store is found in the Start screen, or use Search to search the Store app for any apps that you are trying to find.

Enjoy Guys! and don’t forget to post your comments. � MyTricksTime.com

How to increase your RAM and make your computer system faster


These tips will help you to increase your Desktop or Laptops speed and make your system quick

It includes to main steps . from these you will learn How to increase your RAM and make your computer system faster 


1.Increase virtual Ram (Paging)       2.Check for errors, Analyze and defragment. 3. Deleting %temp% and temp

1.   Increase virtual Ram (Paging) It will increase the virtual Ram .just follow the steps

    •  Hold down the ‘Windows’ Key and Press the ‘Pause/Break’ button at the top right of your keyboard.

Another way is Right-Clicking ‘My Computer’ and then Select ‘Properties’.

    • Click on the ‘Advanced’ tab.


    • Under ‘Performance’, click ‘Settings’.


    • Then click the ‘Advanced’ tab on the button that pops up.


    • Under ‘Virtual Memory’ at the bottom, click ‘Change’.


    • Click the ‘Custom Size’ button.


    •  For the initial size (depending on your HD space), type in anywhere from 1000-1500 (although I use 4000), and for the Maximum size type in anywhere from 2000-2500 (although I use 6000).


    •  Click ‘Set’, and then exit out of all of the windows.


    •  Finally, Restart your computer.


    •  You now have a faster computer and 1-2GB of Virtual RAM..!


2.Check for errors, Analyze and defragment.

    • go to my computer


    •  right click on c drive, click properties


    • click on tools tab


    • Click check now and start disk check. It will scan the system for errors.sometimes it show , disk check will take place when you restart computer, if it show such message then click yes and it will automatically check when you restart.


    • follow step 1-4 for all drives.


    • if no message is shown then manually check for errors and then click analyze and after analyzing click defragment.


    • On your next restart you will see the changes in speed.


3. Deleting %temp% and temp


    • go to run 
    • type:-  %temp%
    • and press enter
    • select all by using ctrl+a delete all files. This are temparary files taking the disk space. Deleting files would not affect the system.some files may not be deleted so just ignore them.

Follow all this steps every week or every month for better performance from your system.
Enjoy Guys! and don’t forget to post your comments. � MyTricksTime.com