Download Windows Live Essentials Offline Installer for For XP and Windows7

The Windows live essentials is a free software suite from Microsoft that includes a bunch of  useful programs including social communication, messaging and multimedia software’s. When it comes to writing blog posts, there is a wonderful editor cum publisher called Windows Live Writer which simplifies blog publishing with almost all major blogging platforms.

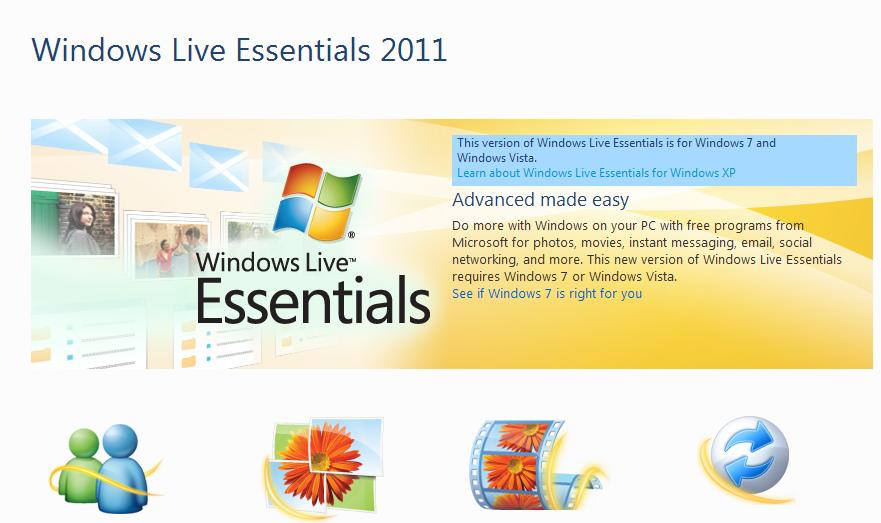
However the new version of Windows live essentials only supports, Windows7 or vista, here’s the download link to both XP and  latest versions. These are offline installer packages which can be downloaded to your PC as a full standalone setup file (wlsetup-all.exe). If you internet connection is unreliable, you can download offline installer files for Windows live and can be copied to many other systems so that you wont be be asked to connect to internet during installation. so you don’t need to download any intermediate online installers.

Windows live Essentials:
  • Messenger : Windows live messenger is already with windows xp service pack 2 but you may get the latest version from this installer.
  • Photo Gallery : This is a useful tool to touch-up, organizing and sharing the photos. You can create movies and panoramas and publish on internet.
  • Windows Live Mesh : This is tool is only available for windows 7 and vista. the Windows Skydrive let you upload your important attachments by giving you 5GB free storage and you can sync  updated documents and files.
  • Movie Maker : Inbuilt windows Xp tool gains a new look and some stunning effects and transitions.
  • Windows Live Writer : This tool is what I have to tell you a bit more. Using this desktop  application you can create well designed and SEO friendly blog posts and publish them with a single click. This tool works with almost all blogging platform like WordPress, Blogger etc. This editor include those facilities which you missed in blogger editor like word counter. The interface is much simpler and you can link your blog accounts easily. View the below video to get started with Windows live writer. 

In addition to the above tools, Windows live essentials comes with, Family Safety, Bing Bar, Outlook connector pack, email application etc. Checkout the minimum system requirements for windows live essentials. 

Download Windows Live Essentials Offline standalone installer for Windows – XP and Windows7

Download for XP Offline Setup

Download Latest Version 2011Offline setup

How to Change Your Windows 7 Logon Screen

Change Your Windows 7 Logon Screen
How to Change Your Windows 7 Logon Screen


The following process involves changing the registry and tweaking it to change the logon screen in

How to Change Your Windows 7 Logon Screen

  • Press Windows key + R. Type �regedit� and hit Enter.
  • Now navigate to the following path as shown below:

HKEY_LOCAL_MACHINESoftwareMicrosoftWindowsCurrentVersionAuthenticationLogonUIBackground

  • On the right pane, right click on the blank space and choose New->DWORD Value. Give the name as �OEMBackground�.
  • Double click on this newly created key and set the vale to �1. Chose the base as Hexadecimal and click �OK�.
  • Go to your system drive (C:) and navigate to C -> Windows ->System32 ->oobe.
  • Create a new folder named �info�. Under �info� create another folder named as �backgrounds�.
  • You are almost done. Now copy the image that you want to put in the logon screen into the �backgrounds� folder and rename it to �backgroundDefault�.
  • Restart the computer and the change will be reflected.
If you want to switch to a different background, you have to restart the process from scratch.

Create Separate Profiles in Google Chrome for Family Members

Create Separate Profiles in Google Chrome for Family Members
Google Chrome 16 lets you create multiple user accounts but if you want to keep your web history and passwords hidden from other Chrome users, you need to create a separate profile as explained in the following tutorial.
If you have a common computer at home that you share with other family members, how do you ensure that your web browsing history in Google Chrome stays private and others don�t get to know what you search or which sites you visited from that computer?
Google Chrome does include support for user profiles now. You can create separate profiles for family members and then their bookmarks, passwords, themes and other Chrome settings won�t be visible to anyone else. For instance, if you install the ESPN app inside your Chrome user profile, that app won�t be available to mom when she uses Chrome with her own user profile.

Create Separate Profiles in Google Chrome for Family Members

Why You Need Separate Profiles in Google Chrome

There�s however one big limitation with user profiles in Google Chrome. It won�t hide your web history from other users even if you have signed out of your Google Account. Anyone can switch to your user profile in Chrome (see screenshot above) and they�ll have instant access to your complete web browsing and search history with Ctrl + H and even from the browser�s address bar.
If someone inadvertently switches to your user profile in Google Chrome, it can become a slightly embarrassing situation for either of you. You can however create separate user profiles, and not just users, in Google Chrome and then your browser history, bookmarks, search terms, etc. won�t be visible to anyone else in the family. Read on.

How to Create Profiles in Google Chrome Browser

Unlike Firefox that ships with a Profile Manager, you can only manually create user profiles in Google Chrome. Here’s how:
Step 1: Launch Google Chrome and use the keyboard shortcut Ctrl + Shift + Del to clear your entire web browsing history.
Step 2: Open Windows Explorer and switch to Chrome’s User Data folder available at:
For Windows 7 and Windows Vista 
C:Users<username>AppDataLocalGoogleChromeUser Data

For Windows XP
C:Documents and Settings<username>Local SettingsApplication DataGoogleChromeUser Data
chrome-profileStep 3: While inside Windows Explorer, select the subfolder called “default” and make a copy of that folder inside the same “User Data” folder of Chrome. Rename that new folder copy to, say, Your_Name as shown in the screenshot.
Step 4: We will now reset this new “Your_Name” profile in Chrome to the factory defaults. Open “Command Prompt”, use the �cd� command to switch to the Chrome Application folder (where Chrome is installed) and run the following command:
chrome.exe --user-data-dir="..User DataYour_Name" -first-run
Step 5: Your new user profile in Chrome is ready for use. To run Google Chrome using this profile instead of the default profile, let�s create a shortcut. Right click anywhere on the desktop, choose New -> Shortcut and type the following in the location box:
For Windows 7 and Vista:
C:Users<user>AppDataLocalGoogleChromeApplicationchrome.exe --user-data-dir="..User DataYour_Name"

For Windows XP:
C:Documents and Settings<user>Local SettingsApplication DataGoogleChromeApplicationchrome.exe --user-data-dir="..User DataYour_Name"
chrome-iconsGive this shortcut a �hard to guess� name, change the shortcut icon to, say, Microsoft Word and you’re done. Now your web history, bookmarks, cookies, and search terms won�t be visible to anyone else in the family and there�s no need to switch to incognito browsing mode ever.

Useful Windows XP DOS Commands & Tricks


Typing DOS commands on the Windows Command Line prompt is a most efficient and faster way of doing things in Windows XP. Here’s a run-down of the most useful DOS commands available in Windows XP. Some of these DOS commands even do not have an visual alternative.

DOS Command-line tools must be run at the prompt of the Cmd.exe command interpreter. To open Command Prompt, click Start, click Run, type cmd, and then click OK. 

ipconfig – Windows IP configuration
Useful for troubleshooting your internet connection. Displays the current IP address of your computer and the DNS server address. If you call your ISP for reporting a bad internet connection, he will probably ask you to run ipconfig.

fc – Free BeyondCompare in XP
FC is an advanced DOS Command that compares two files and displays the differences between them. Though the file comparison results are not as interactive as BeyondCompare or Altova DiffDog, fc is still very useful. You can even set fc to resynchronize the files after finding a mismatch. 

type – open text files sans Notepad
Similar to Unix cat command, Type is my favorite DOS command for displaying the contents of a text files without modifying them. When used in combination with more switch, type splits the contents of lengthy text files into multiple pages. Avoid using the type command with binary files or you’ll hear alien PC beeps and see some greek characters on your PC.

ping – Say hello to another computer
Ping network command followed by the web-address or IP address tells you about the health of the connection and whether the other party is responding to your handshake request. Ping tool can also be used to convert the web address to a physical IP address.

tree – visual directory structure
You often need to take prints of your physical directory structure but XP has no simple “visual” commands for printing directory contents. Here, try the Tree DOS command and redirect the output to a text file.

tree > mydirectory.txt
print mydirectory.txt

attrib – make hidden files visible
Attrib lets you change attributes of System files and even hidden files. This is great for troubleshooting Windows XP. Say your XP doesn’t boot ever since you edited that startup boot.ini file (Hidden), use attrib to remove the Hidden attibute and edit the file using EDIT dos command.

assoc – which program will open that .xyz file
The assoc DOS command can be used to either isplay or even modify the file name extension associations. The command assoc .htm will quickly tell you the name of your default web browser (see picture) 

move – more flexible than copy-paste
Say you got a lot of XLS and DOC files in you MyDocuments folder and want to move only those XLS files that have their name ending with 2006. In XP Explorer, you have to manually select each file and then cut-paste to another folder. However, the DOS move command make things much simpler. Just type the following at the command prompt:
move *2006.xls c:2006Reports

find – advanced file search with filter
Find is the most powerful DOS command and even more useful than the Windows Desktop Search tool or the Windows Find Wizard. The find command searches for a specific string of text in a file or files. After searching the specified file or files, find displays any lines of text that contain the specified string.

To search your hard disk to find and display the file names on drive C: that contain the string “Google” use the pipe (|) to direct the results of a dir command to find as follows:
dir c: /s /b | find “Google” 

Quick tip – Drag to avoid typing: When your command acts on a file or folder, you must type the path to that folder after the command. You can save typing time by dragging the file or folder from Windows Explorer into the command window.

To view help at the command-line, at the command prompt, type the following:
CommandName /?

How to Boost your Nokia Modem Internet Speed

onetouch access
Many of you may use Nokia Phone to connect yourself to internet. Which uses 2G or 3G.
This trick will help you in boosting the Internet speed of your Nokia Phone Modem by 100%.
  • Connect your Nokia Phone modem to your PC and connect it to internet by using One Touch Accessof Nokia PC suit.
  • Click on the computer activity icon which is similiar to my-computer icon and will be blinking off and on. and will be placed on your task-bar.
network icon on task bar
  • OTA status of the Nokia modem will be opened. Click on the Properties.
  • Select Configure option from the Properties window.
  • This will open up the Modem Configuration window.
  • Select the Maximum speed available in the Maximum speed option.
  • And press OK to save the settings.
  • speed up nokia modem
  • Now Disconnect the Internet connection and Reconnect it to avail more speed.