I must remind you that you can upload anything you want under the limit of 200MB per file. May it be Java, php, MySQL or even pyThon.
Google Project Hosting
This free service is called Google project hosting. We will need to create an account/project first with gmail ID. Lets begin
- Log into this link with your Gmail ID
- Then give your Project a name without spaces and fill up remaining blanks as shown below,
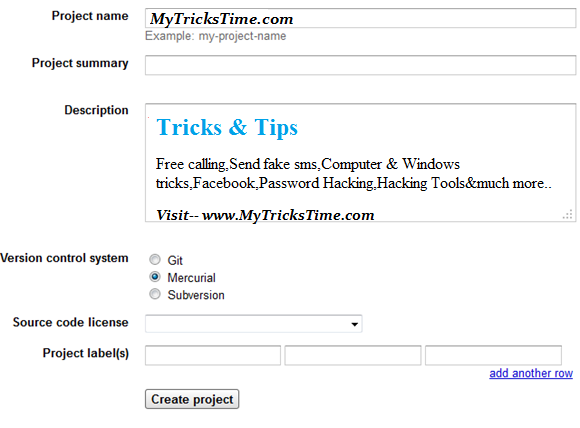
3. Fill up the areas simply with your blog title and choose MIT as the license and choose Mercurial version.
4. Hit “Create Project“
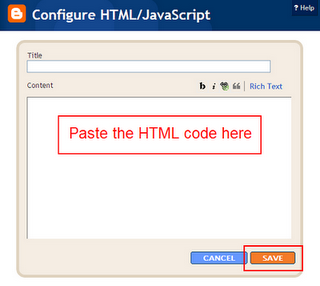
5. On the next window click the New Download link under the Downloads Tab. See the screenshot below:

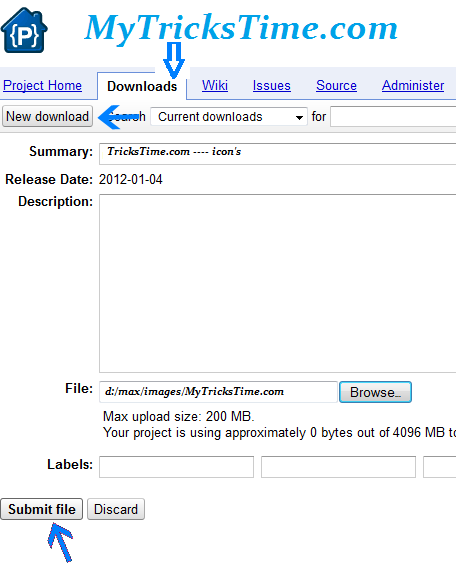
6. Next to summary field give your file a name and hit the browse button to locate your file. Click submit file and bingo you are done!
7. Click your uploaded file and you will be taken to a new page.
8. Clicking it again will popup a download window but we don’t need to download it. Instead rightclick the file and choose “Copy link location” This link is what you would need when linking to the file through your blogger Edit HTML section.

Advantage
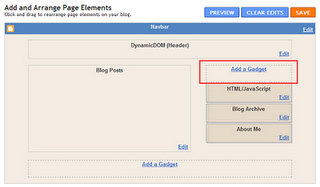
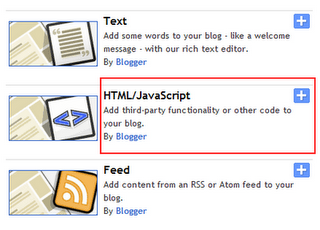
I will ask you in future to save your javascripts here in order to make the tutorial length precise and make things look more simple. It wont slow down your widgets load time because the script is located on Google servers with 100% uptime. You can save javascripts on Blogger too but its better to keep your template clean rather pasting large chunks of code inside it. Have fun pals! 🙂


 Google Plus is the name you hear everywhere today. Google+ uses all major services of Google thus making it the most complete social networking site ever. It gives you an option of both Chat and Video Chat. Amazingly you can not just have to worry about your privacy issues as you did on Facebook but now you can even talk to your friends face to face by making a video call straight from your own Google+ account! This is the plus point of Google+ over Facebook. Google developers have used the same Gmail video chat algorithm to provide you with an option of both chat and video calling. Having a webcam is not a must because you can still see your friends cam with highly quality audio and video. There are however some setup guide and installation steps that you must take to successfully make and receive video calls. Lets jump straight at the tutorial.
 2. Congratulation you have successfully set up a Video Calling plugin for your Google+


