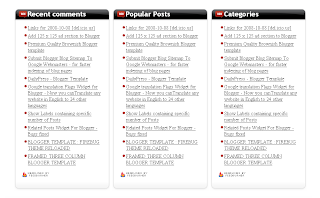
So if these widgets are not present in your blog, then follow these steps to add them yourself :
First log in to Blogger.com
Go to Layout -> Click on Edit HTML tab
Now search (CTRL+F) for these code line:
<div id=’footer-wrapper’>
<b:section class=’footer’ id=’footer’/></div>
REPLACE the entire red line in the above code, with this new code:
<div id=’footer-column-container’>
<div id=’footer2′ style=’width: 30%; float: left; margin:0; text-align: left;’>
<b:section class=’footer-column’ id=’col1′ preferred=’yes’ style=’float:left;’/>
</div>
<div id=’footer3′ style=’width: 40%; float: left; margin:0; text-align: left;’>
<b:section class=’footer-column’ id=’col2′ preferred=’yes’ style=’float:left;’/>
</div>
<div id=’footer4′ style=’width: 30%; float: right; margin:0; text-align: left;’>
<b:section class=’footer-column’ id=’col3′ preferred=’yes’ style=’float:right;’/>
</div>
<div style=’clear:both;’/>
<div id=’footer-bottom’ style=’text-align: center; padding: 10px; text-transform: lowercase;’>
<b:section class=’footer’ id=’col-bottom’ preferred=’yes’>
<b:widget id=’Text2′ locked=’false’ title=” type=’Text’/>
</b:section>
</div>
<div style=’clear:both;’/>
</div>
Now PREVIEW the template, and if no errors are displayed, then carry on:
Find this code:
]]></b:skin>
Then immediately BEFORE / ABOVE it, paste these lines:
#footer-column-container {
clear:both;
}
.footer-column {
padding: 10px;
}
Save the template, go to “Page Elements“, and add content to the three new widgets !

